ADDING
1. Select in the side menu: Drivers → add driver (Fig. 1.). The right side panel will open.
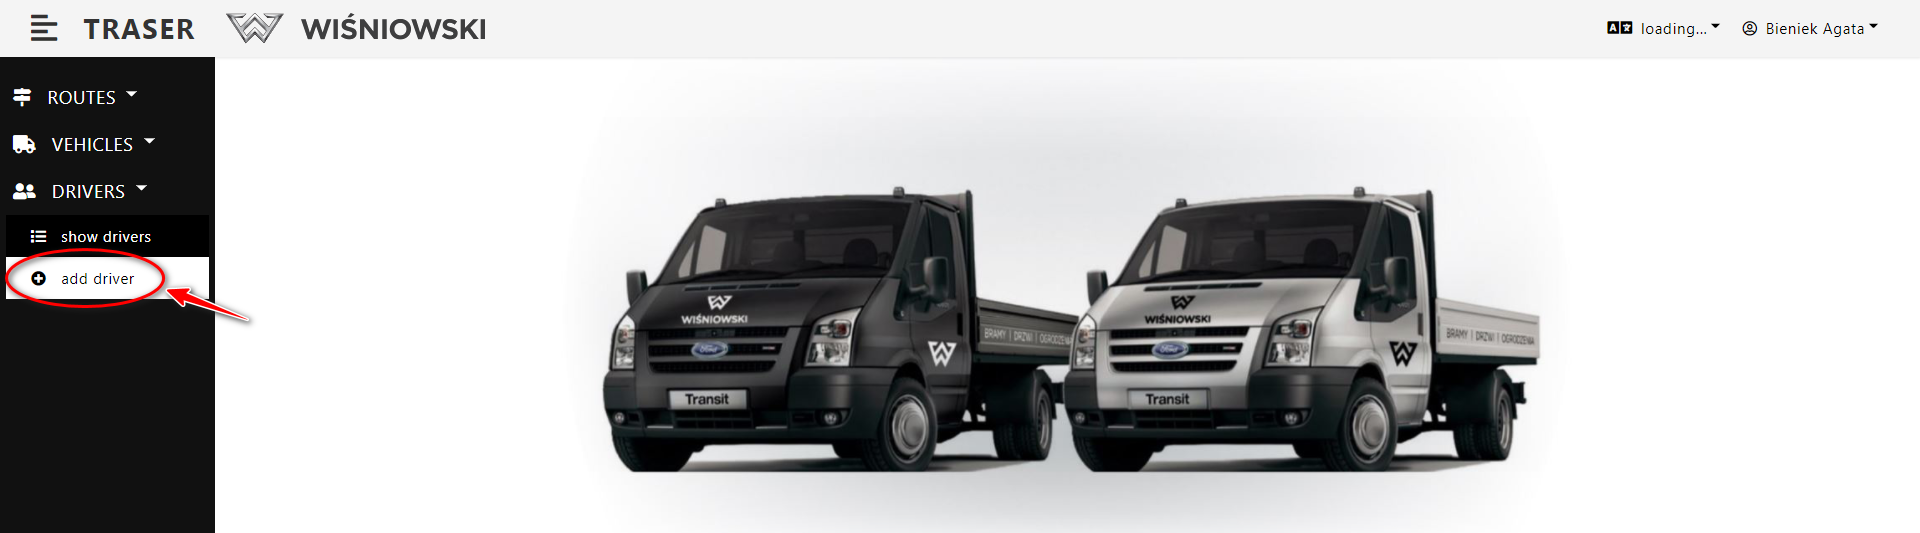
Fig. 1. Adding a driver using the side menu.
2. On the side panel, complete all the required data and click the "Save" button (Fig. 2.)..
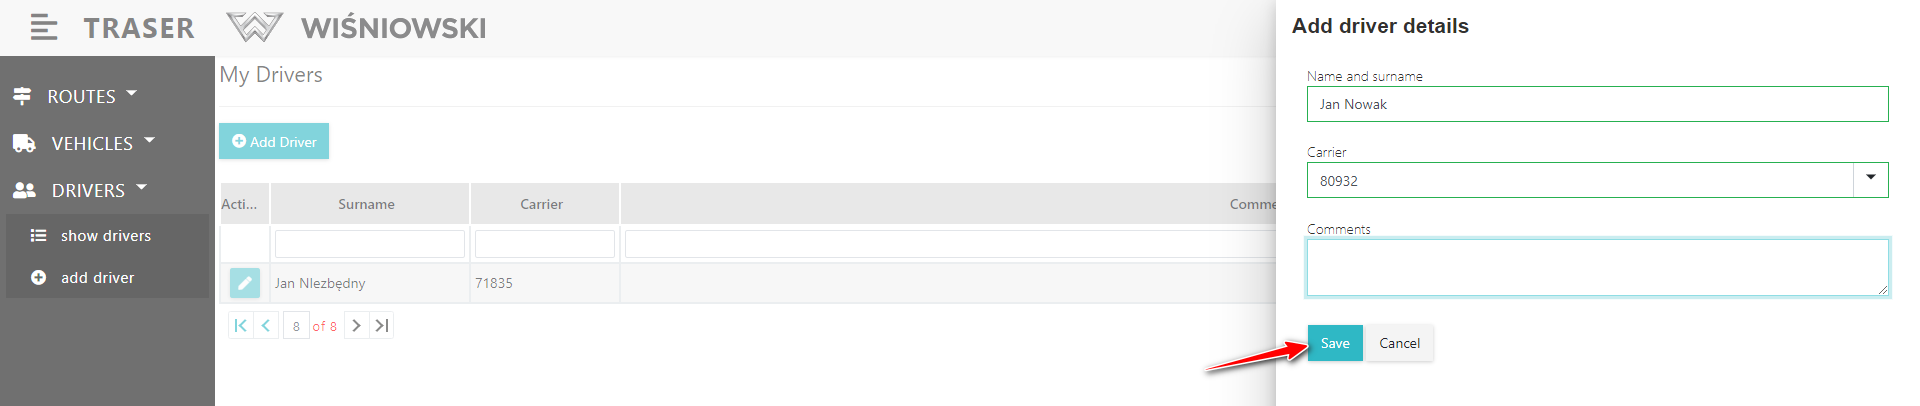
Fig. 2. Adding a driver on the side panel.
3. If the Driver is created correctly, it will be displayed in the Drivers list (Fig. 3.).
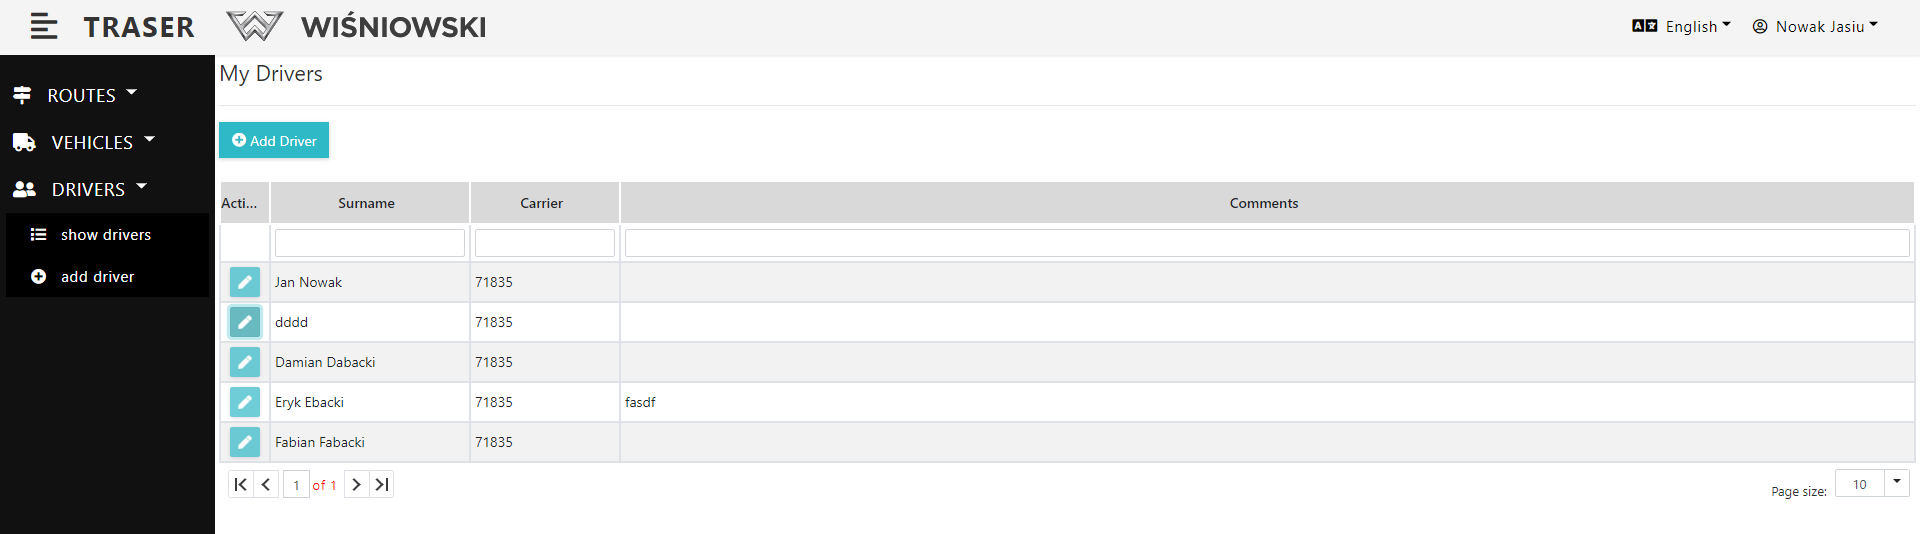
Fig. 3. Drivers list.
DIFFERENT WAY TO ADD A DRIVER
1. Select in the side menu: DRIVERS → show drivers. A list of Drivers should be displayed. Click the "Add Driver" button (Fig. 4.). Then proceed as in Fig. 2.
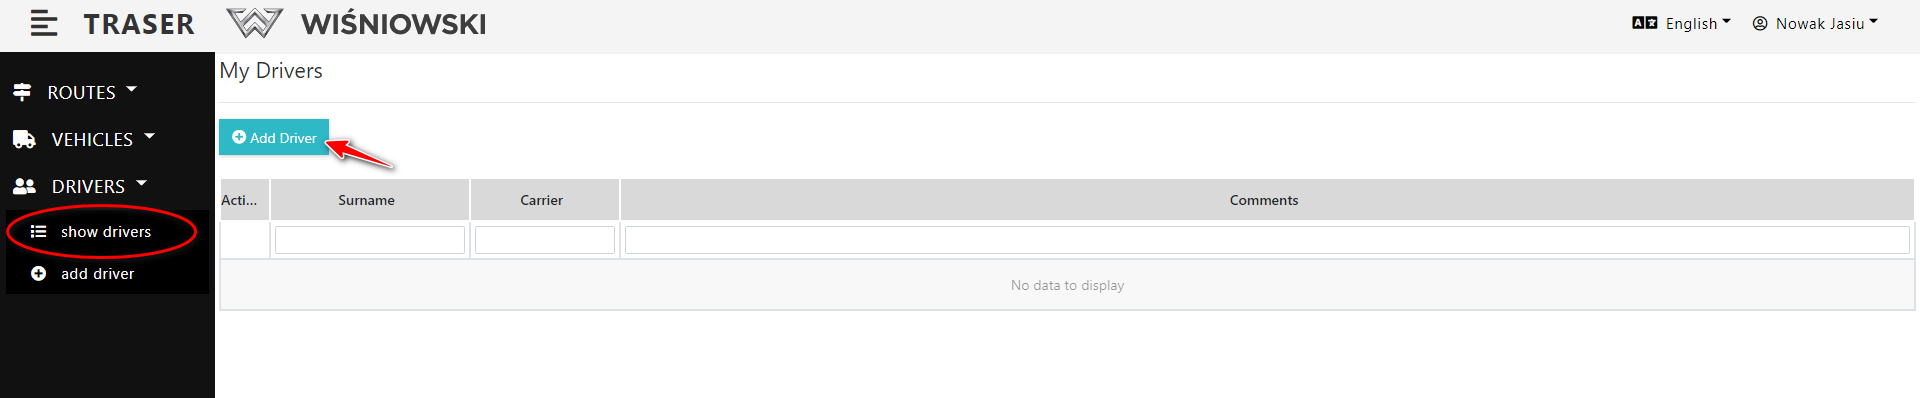
Fig. 4. Adding a driver from the Drivers list view.
EDITION
1. Select in the side menu: DRIVERS → show drivers. (Fig. 5.). A list of Drivers should be displayed..
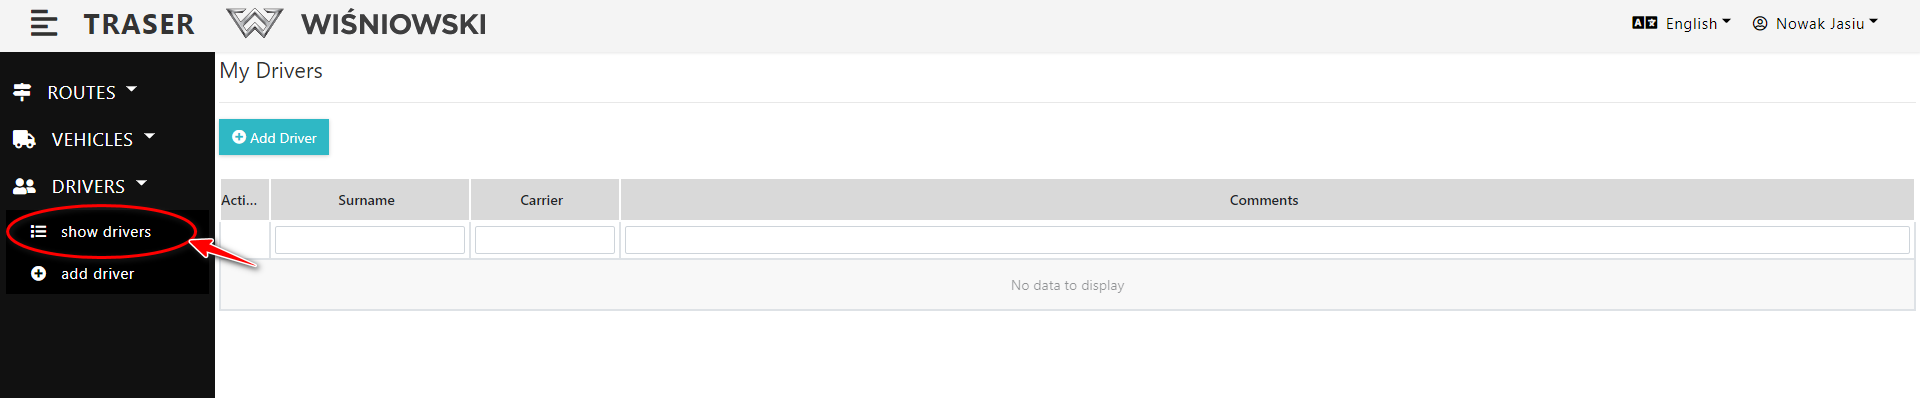
Fig. 5. Drivers list.
2. Click the green button with a pencil icon next to the appropriate Drivers (Fig. 6) to open the side panel for editing Drivers.
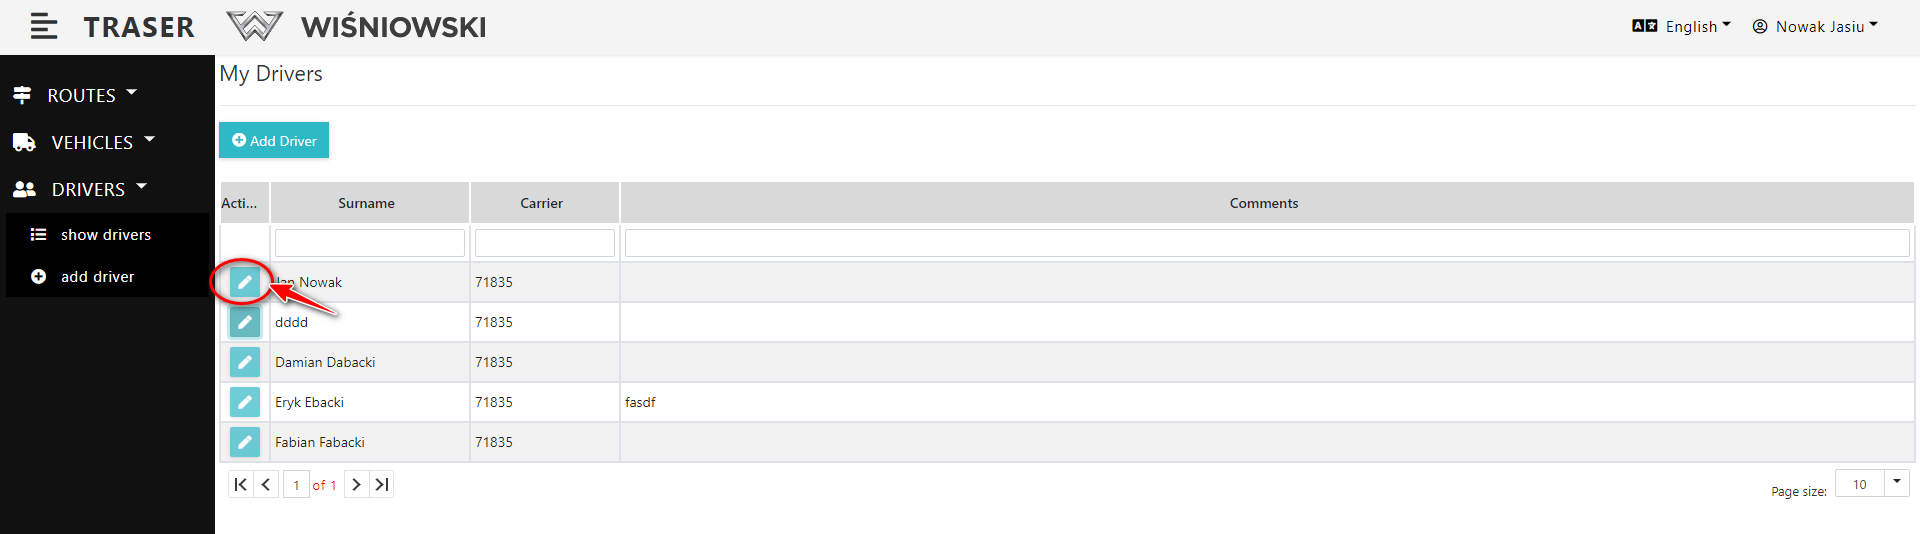
Fig. 6. Start of edition of the Driver.
3. Edit the Driver on the side panel and click the "Save" button (Fig. 7.).
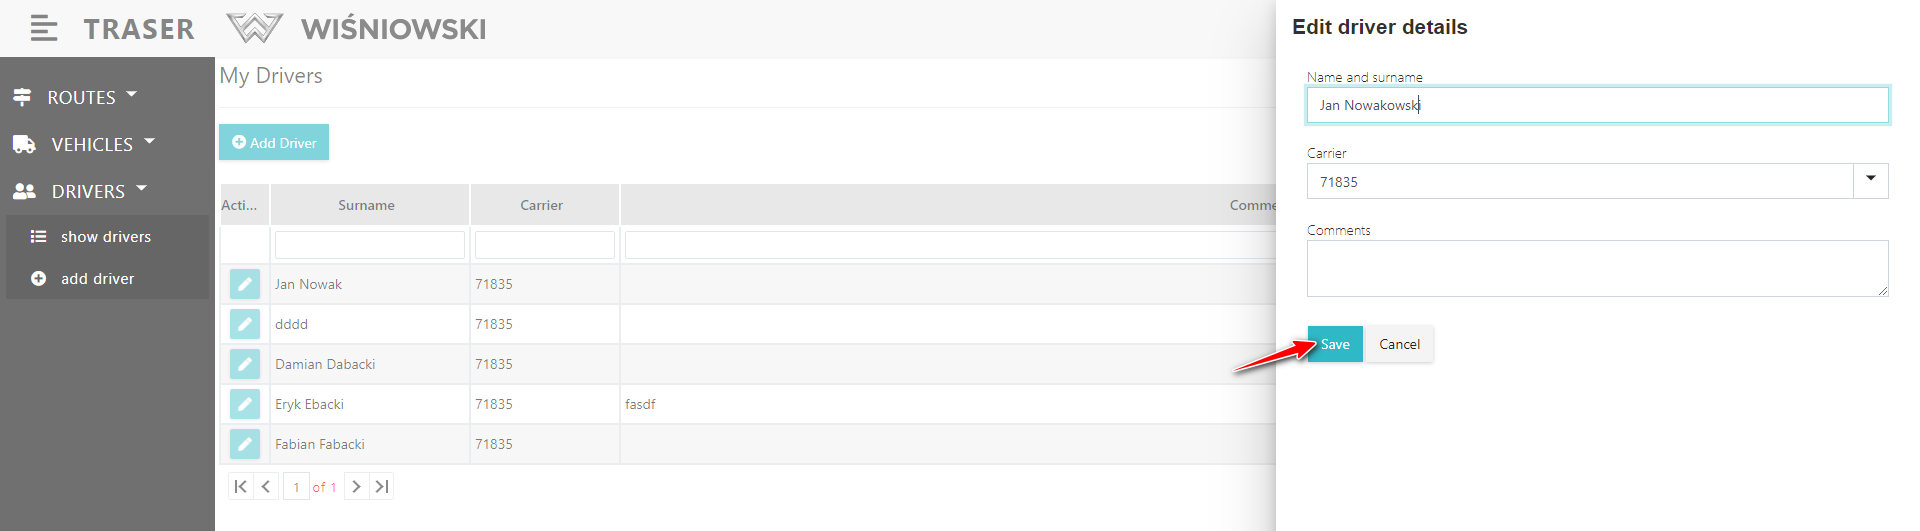
Fig. 7. Save the driver after editing.
REMOVING
Currently, it is not possible to remove a Driver.